Growing black eyed peas is a popular crop in the summer garden. And growing black eyed peas in home garden is a very easy and rewarding task. Even the beginner home gardeners can also start growing in their home garden.
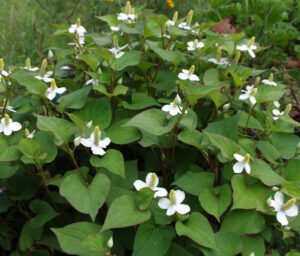
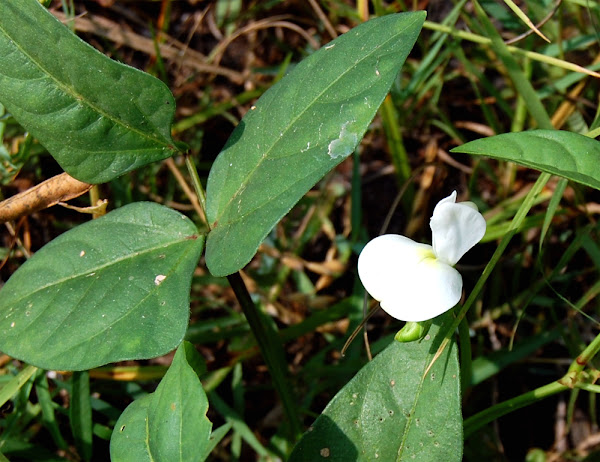
The black eyed peas (Vigna unguiculata) are actually a legume, and a subspecies of the cowpea. It is grown throughout the world for it’s medium sized edible bean.
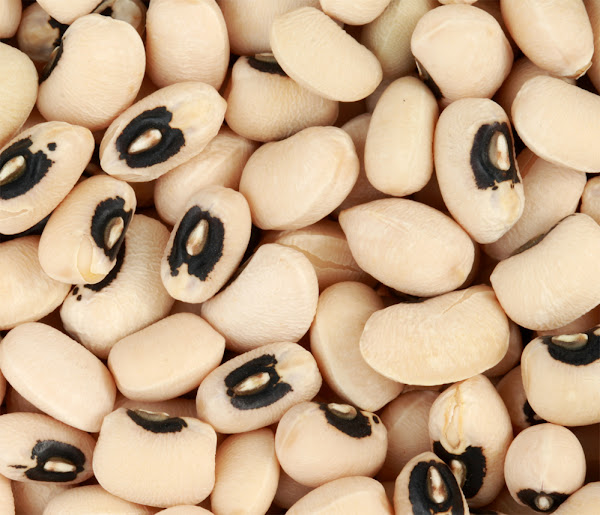
The black eyed peas are also called by some other names such as California blackeye, purple hull pea, goat pea, black eyed bean etc. They are actually called ‘black-eyed’ mainly because of the prominent black dot where the bean was joined to the end.
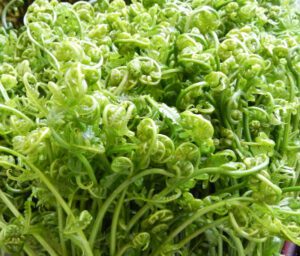
Although, the eye can be of different colors. The color of the eye may be black, brown, pink, green or red. And all the peas are green when freshly shelled, and brown or buff when dried.
Black eyed peas are very good source of protein, energy, carbohydrates. They also contain certain amounts of vitamins and minerals. However, growing black eyed peas organically in your home garden can be a great way for enjoying this wonderful pea.
How to Grow Black Eyed Peas
Growing black eyed peas is very easy, and the beginner home gardeners can also plant and grow black eyed peas. However, here we are describing more information about growing black eyed peas organically in home garden.
Select a Location
First of all, select a good location inside your home garden for growing black eyed peas. The black eyed pea plants generally grow well in fully sunny area and fertile and well-drained soil.
Prepare the Soil
The black eyed peas can be grown in almost all types of soil. But they generally grow very well in fertile soil which is rich in lots of organic contents into it. So, you have to prepare the soil for growing black eyed peas by mixing lots of organic contents into it.
Some good organic contents for adding into the soil are well-rotted aged manure, quick compost and homemade compost. Till the soil up to 8 inches deep and then add all the organic contents into it. And finally, level the soil.
Best Time for Growing Black Eyed Peas
The black eyed peas are a summer season crop. And they are mainly grown during the summer months.
Select a Variety
There are several varieties of black eyed peas available to choose from. Cream, purple-eyed, black-eyed, crowder, big boy, queen anne and cowpeas are some of the commonly known varieties of black eyed peas. You can choose any variety depending on it’s availability in your area.
Purchase Seeds
After selecting a variety, purchase seeds from any of your nearest market. The black eyed peas are common, so the seeds should be easily available. You can also consider ordering the seeds online.
Planting
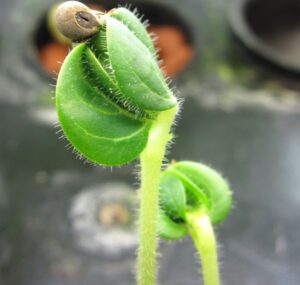
The black eyed pea seeds are generally planted in rows. So, after leveling the soil, mark several rows in the soil (the rows should be 2-3 feet apart). Then plant seeds to about 2-4 inches apart, and 1-1 1/2 inches deep. Water lightly after planting the seeds. The seeds will germinate within 2-5 days after sowing.
Caring
The black eyed pea plants generally require less care. But taking additional care will ensure good growth of the plants which will ultimately increase total production. Here we are describing more about the caring process for growing black eyed peas.
Fertilizing: The black eyed peas don’t require applying additional fertilizers if you have already prepared the soil by following the above mentioned ways.
Watering: Regular watering is required if rainfall is scarce. Although some home gardeners grow black eyed peas without supplemental irrigation. The black eyed peas are extremely drought tolerant, so avoid excessive watering.
Mulching: Mulching will help to retain moisture into the soil. And it will also help to keep the weeds down from your garden. So, mulch your garden when the seedlings are about 4-6 inches tall. Use organic materials such as straw, compost, dried leaves or grass clippings as mulch.
Controlling Weeds: Weeds generally consume nutrients from the soil, and ultimately the black eyed pea plants will suffer. So, you should control the weeds regularly. You can either hand control the weeds or by hoeing.
Pests and Diseases
Pests and diseases are generally less in the black eyed pea plants. Use organic methods if you notice any pests or diseases.
Harvesting
You can actually start harvesting the black eyed peas when the pods are at least 3-4 inches long. While harvesting, be careful pulling the pods from the vine. Harvest the pods when they are full for shelling beans (you can see the beans protruding in the pods). But leave the pods on the vines to dry completely for dry beans.
These are the common ways for growing black eyed peas organically in home garden. Hope you have enjoyed this guide! Good luck & happy gardening 🙂