Learning more about duck breeding is very important for raising ducks successfully. Ducks generally require less caring and it’s very easy to care for them.
If you are willing to breed ducks as a hobby or as a small income source, then you must have to obtain information about breeding domestic ducks.
Domestic ducks are actually raised for producing good-sized eggs, quality meat and also for getting rid of slugs and snails from the garden.
Ducks require less care compared to other poultry birds. And they have a few basic requirements for ensuring a healthy flock.
Before starting breeding ducks, you have to decide actually why you want to breed ducks. You can either raise ducks as pets, for producing meat or for producing eggs.
Ducks are also an effective organic way of controlling pets in the garden. There are many different breeds of domestic ducks which are raised for different purposes.
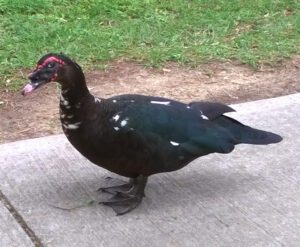
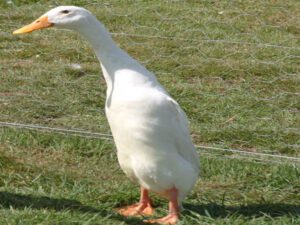
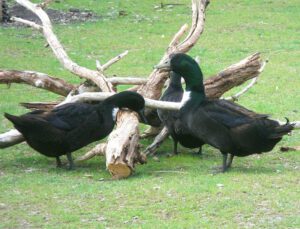
Generally Cayuga, Call, Rouen, Muscovy and Pekin ducks are very good for raising as pets. Aylesbury, Muscovy, Pekin and Rouen ducks are good for meat production.
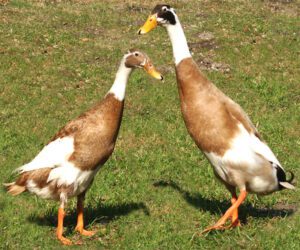
And Khaki Campbell and Indian Runner ducks are very good for producing eggs. Choose suitable breed depending on your need.
Call, Khaki Campbell and Indian Runner ducks are very good for controlling pests biologically. However, here we are describing more about duck breeding.
Requirements for Duck Breeding
You can’t breed ducks yourself, but you can encourage them for breeding. Depending on the specific breed you are raising you have to do your own research before start raising.

Different duck breeds have different breeding requirements, but here are few general things you should do for breeding ducks successfully.
1. Living Space
Special living space with all required facilities will ensure the birds feel comfortable. The breeding ducks should have enough outdoor and indoor space for moving around and also for spreading their wings.
Arranging around 8 square feet indoor space and around 15 square feet outdoor space per breeding duck will be good. Always keep their living space clean if they are confined inside.
2. Feeding
The mature male ducks which are kept for breeding purpose generally need more protein. And the females should be fed a calcium diet. Always try to provide your ducks with fresh foods.
3. Access of Water
Arranging a good source of clean water will encourage the ducks to breed. Domestics ducks generally do not need to access large ponds or lakes. A small pool will be good for them where they can swim.
4. Select Young Birds
Younger birds generally good for duck breeding purpose. The selected birds must have to be healthy with thick sleek feathers, dry nostrils, bright eyes and plentiful tail furnishings.
5. Male and Female Ratio
Different duck breeds have different male to female ratio for successful breeding. Heavy sized breeds like Muscovy and other meat breeds will generally have a ratio of 1 male to 5 females maximum.
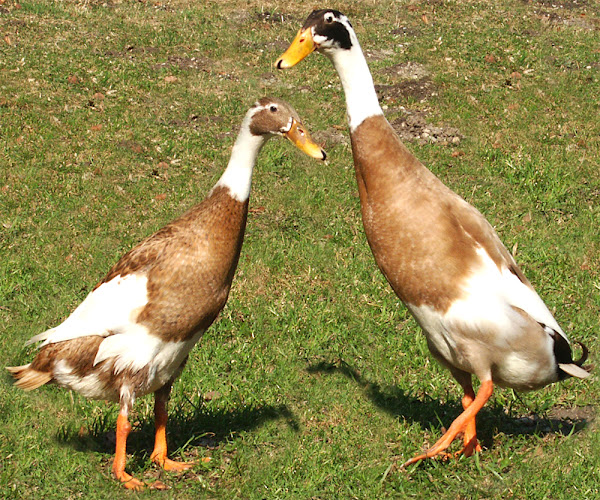
And lighter breeds such as the Khaki Campbell and Indian Runner can have a maximum male to female ratio of around 1 male to 10 females.
Never keep too many male ducks or too many female ducks for breeding purpose. Because keeping too many male ducks with too few female ducks can cause injury to the females as they can be mated too often.
6. Mating
Different breeds have different breeding season. Some domestic ducks generally breed year-round. But some breeds have different breeding season which goes from late winter through spring to early summer. During the mating season the ducks generally show mating behavior and lay eggs.
During the breeding season, mating behavior will include neck biting, pecking, head bobbing and attempts at mounting by the male. Mate the ducks for at least 2 weeks before collecting eggs for hatching. Doing this will ensure high fertility in the eggs, and it will also give the ducks time to settle down into mating.
7. Collecting Eggs
Collect the eggs daily and try to keep the eggs as clean as possible. Store the eggs in a cool (but not too cold) location. Turn the eggs once a day to prevent the membrane from sticking to the shell.

The eggs can be stored for 7-10 days before incubation. Generally it is better to incubate the eggs all at the same time so that all the eggs will be at the same stage.
8. Incubator Setup
Before setting up incubator, please follow the instructions for your incubator. For hatching duck eggs, set your incubator to 99.5 degrees with a humidity of 86 percent to start out. Before placing the eggs inside the incubator, run it for a day or two. Doing this will help you to check that it is keeping an even temperature.
Humidity can usually be maintained by filling the water pans on the incubator and following the instructions. You can also spray the eggs with water every time you turn them. You can also use female ducks or chickens for hatching the eggs naturally.
The Muscovy ducks are generally very good brooders and mothers and will not necessarily need their eggs incubated. This also makes them easier to breed and manage.
9. Turn the Eggs
Always check the condition of hatching eggs on a regular basis. Turn the eggs at least 3 time a day. There are some incubators which will turn the eggs automatically.
But if not, turn the eggs manually, an odd number of times daily. Turning the eggs is most critical during the first week of incubation, and turn the eggs as often as you can.
10. Check Fertility
Check the fertility of the eggs after one week. You can use the candling technique to check if your eggs are fertile and remove any non-fertile eggs.
You can check the fertility of eggs with a small flashlight and by making the room dark. Hold it up to the egg and wrap your hand around the meeting place so that no light shines into your eyes.
If you see clear, distinct veins then the egg is probably alive. You can repeat candling once per week and remove any eggs that are not alive.
11. Incubation
Incubate the eggs for around 28 days. Different breeds take different times to incubate. But most breeds take up to 28 days to incubate.
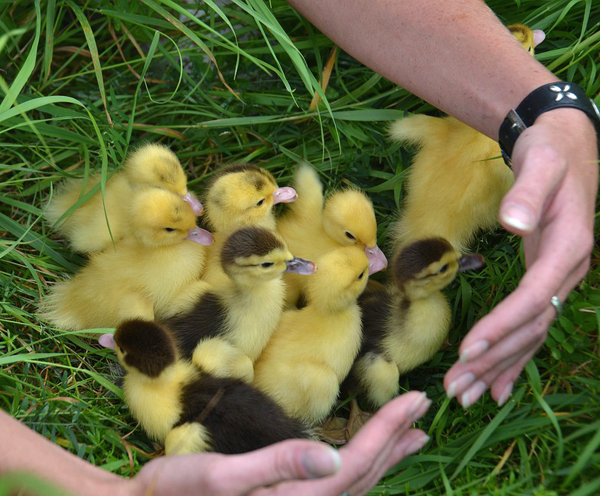
After hatching, keep the ducklings for 12 hours in the incubator. Doing this gives them time to dry out fully and allows time for the other eggs to hatch.
12. Move the Ducklings to Brooder
Move the ducklings to a brooder after hatching. A plastic container with a small enclosure will be good for this purpose. Follow the steps for caring baby ducks.
These are the steps and ways of duck breeding. Hope this guide has helped you. Good luck and may God bless you!

Hi
I would like to buy some eggs to reproduced some duck.
I don’t know where can i get it
This is the nice education please tell us more about ducks
Read our other duck farming guides. Good luck!