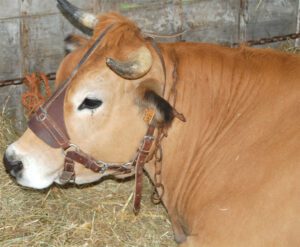
Do you know how to tag cattle? Ear tagging is very important especially if you are raising many cattle in your herd. It is an important part of animal identification. Because if you tag cattle, then it will be very helpful for you to easily identify the animal and keep records of those.
Ear tagging also help the farmer to keep track and record information about the animal such as age, weight, gender, when a cow last calved, number of calves she had etc.
It is very important to tag cattle properly to avoid infection or tag lose. So, you must understand the importance of placement, identification, precautions and use of the tag applicator to tag a cow properly.
There are actually 3 important tools to use when placing an ear tag. And these 3 tools are the applicator, stud and button. You can easily avoid complications if you know how to properly use these components. Tags are an essential identification tool that can carry a variety of information and help both farmers and ranchers in their farm operations.
How to Tag Cattle
Reduced head movement when you tag cattle will ensure that the tag is placed in the correct position. Management of the applicator is also important, and you must know how to properly use and clean this tool. It will be better if you can learn about ‘how to tag cattle’, from an experienced farmer. Learning practically will be better for you. However, here we are describing more about the process so that you can easily tag cattle.
Secure the Cattle
First of all, catch the cattle, secure it and restrict it’s movement. You can use a chute with a head gate for securing the cow. Restricting the head movement is very important for ensuring accurate tag position. You can also apply tags shortly after birth (during the calf’s weaning period). Tagging the younger animal require less effort.
Tag Placement
The ideal location for tag placement is in the middle one third of the ear (between the rises in auricular cartilage). Don’t tag cattle too close to their head. Because doing so will fit too tightly due to the thicker cartilage, and may cause necrosis and sloughing tissue.
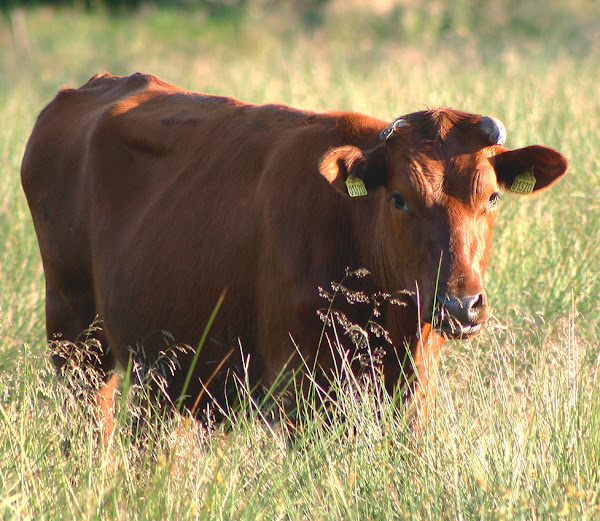
And also the tags placed too far towards the tip or bottom of the ear are subject to being turn out. So, proper tag placement is very important to reduce the risk of infection.
Prepare the Applicator
Prepare the applicator perfectly before using it. Clean it properly to decrease the risk of infection, also clean it thoroughly after using it. Wipe down the pin and clip components with rubbing alcohol or a disinfecting solution. Also swab the inner and outer surfaces of the cow’s ear using a cloth or cotton ball soaked in alcohol for added protection. After cleaning everything perfectly, load the halves of the tag into the applicator.
Insert the pointed stud on the backside of the visual panel onto the long slender pin. Then fit the button or backing into the clip on the opposite arm of the applicator. Before using, double check that both pieces are fully inserted and attached securely before moving on.
Applying the Tag
Place the applicator over the tagging position. Hold the applicator in your dominant hand and use other hand gently stretch and flatten the cow’s ear. Then squeeze the handles together in one smooth motion. You will hear a loud click sound as the two halves of the tag come together. Then release the handles and pull the applicator away, once the tag is in place and ensure that the stud and button are interlocked.
Let the Cow Go
After successful tagging, do your best to keep the cow calm as it is momentary discomfort passes. And then let the cow go. The newly-attached tag should remain in it’s place for several years.
Inspect the Cattle
Inspect the tagging site of your cattle for signs of infection for the next few days. Any excessive redness, swelling or discharge you observed should be treated as a serious concern.
You can also apply disinfection such as rubbing alcohol or hydrogen peroxide for preventing infection.