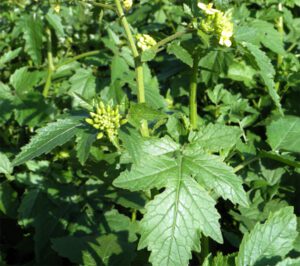
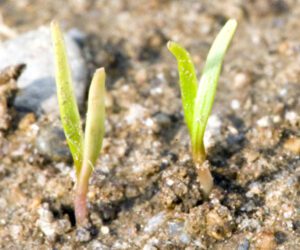
Growing collard greens in home garden is a southern tradition and the greens are included in the traditional New Year’s meal in many areas of the South.
The plants are grown mainly for their large and dark-colored edible leaves and also grown as a garden ornamental.
Collard greens actually describes certain loose-leafed cultivars of Brassica oleracea. And it is the same species as many other common garden vegetables such as cabbage and broccoli. It is also known as Tree cabbage or simply as Collards.
Collard greens are mainly grown for their leaves which are a great source of vitamin A, vitamin C, manganese and Beta Carotene.
It also contain a good amount of fiber, and just like kale it contain substantial amounts of vitamin K.
Generally 100 gram serving of cooked collard greens provide less than 1% fat, 3% protein, 6% carbohydrates, 90% water and 33 calories.
Growing collard greens is fairly easy and the plants do very well in cool weather. You can easily grow the greens in your home garden for your family use.
How to Grow Collard Greens
As we have mentioned previously, growing collard greens organically in home garden is very easy.
You can easily utilize the available space in your home garden by growing collard greens, and it will also enhance the beauty of your home garden.
Here we are describing everything about growing collard greens from planting, caring to harvesting.
Choose a Variety & Purchase Seeds
First of all, choose the right variety for your home garden. Flash, Georgia, Champion, Vates, Morris Heading, Butter Collard and Green Glaze are some good varieties to grow in home garden.
Please consult with some existing home gardeners in your area for having recommendation about choosing the variety.
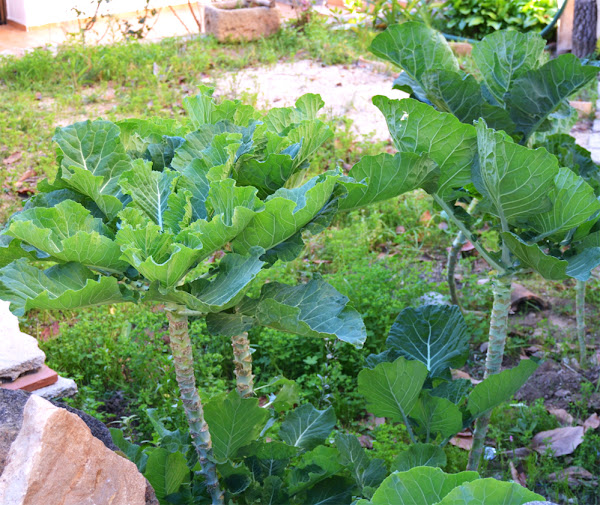
After choosing the right variety for your home garden, you have to collect or purchase quality seeds for growing collard greens.
Collard greens are common and grown in most of the southern areas, so the seeds should be available easily. Search any of your nearest seed supply stores for purchasing the seeds.
Best Time for Growing Collard Greens
Collard greens are available and can be grown year-round. But the leaves are tastier and contain more nutrients in the cold months (generally after the first frost).
So the collard greens are actually a cool season vegetable. The leaves are generally picked before they reach their maximum size for best texture.
And in this stage, the leaves are thicker and are cooked differently from the new leaves.
Collard greens are generally planted in late summer to early autumn for winter harvest in the south. But in the northern areas, the collard greens may be planted a little earlier for fall or winter harvest.
Collard greens are actually frost tolerant, and the frost actually improves the flavor of this vegetable.
Preparing the Soil
Fertile and moist soil with the availability of full sun is best for growing collard greens. The plants grow very fast, so the soil must have to be very fertile.
The plants are moderately sensitive to salinity, and good soil pH level for growing collard greens is between 6.5 and 6.8.
Soil rich with organic materials is always good for growing collard greens. For preparing the soil, till the soil and add as much organic materials as you can.
Well-rotted and aged manure or homemade organic compost will be very good for this purpose.
Planting
Collard greens are grown from seeds. So after preparing the soil by tilling and adding organic materials, sow seeds directly into the ground.
Planting the seeds in rows will be good. And the rows should be at least 3 feet apart.
Sow the seeds in rows 4-6 inches apart and thin later to at least 18 inches apart. Water the bed immediately after sowing the seeds.
Caring
Growing collard greens is relatively easy, because the plants don’t require much care. But taking additional care will help the plants to grow better.
Here we are describing about additional caring steps for growing collard greens organically in home garden.
Fertilizing: You don’t have to provide additional fertilizers if you have already added organic materials while preparing the soil. Although providing organic liquid fertilizers will be good for the growth of the plants. Blood meal, cottonseed meal or compost tea will be good for this purpose.
Watering: Collard greens grow well in moist soil. So, try to keep the soil moist constantly. Generally 1-1.5 inches of water per week will be enough for the collard greens.
Mulching: Mulching helps to retain moisture into the soil. Straw, hay, grass clippings and homemade compost are good for using as mulch. Mulching also helps to prevent the amount of weeds in the garden.
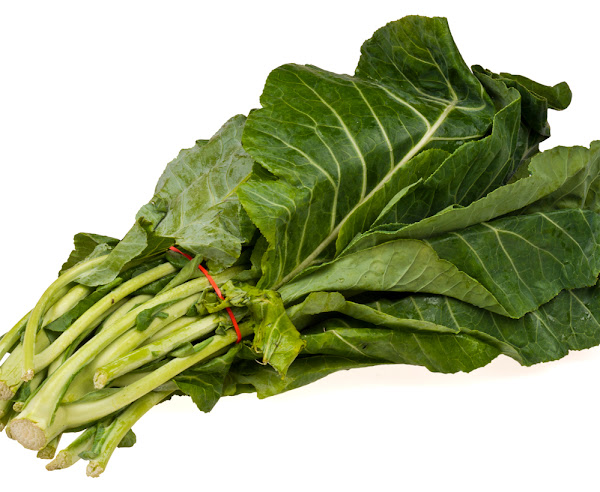
Controlling Weeds: Weeds consume most of the nutrients from the soil. So you have to control the weeds either by hands or by using hoe.
Thinning: Collard greens don’t grow well if they are overcrowded. So you have to thin the seedlings once they have grown to about 4 inches tall. Space the plants 1.5 to 2 feet apart, and at least 3 feet apart in rows.
Pests & Diseases
Collard greens are susceptible to some common garden pests and diseases. Pests of growing collard greens are similar to those of other members of the cabbage family, although their tough leaves offer some protection.
Cabbage loopers, aphids, cabbage worms, flea beetles, cabbage rot maggots and even slugs are some common pests for the collard green plants. Use organic methods for preventing all these pests.
Black rot, blueroot, blackleg and cabbage yellows are some common disease for the collard greens. All these diseases tend to build up in the soil. So crop rotating can be a great way for preventing diseases and also collect and destroy the affected plants.
Harvesting
Collard greens generally become ready for harvesting within 60 to 75 days from planting the seeds. Although you can pick the leaves at any time when they reach your desired sized.
For harvesting, you can either pick the whole plant or individual leaves. But picking individual leaves will be good, because your plants will produce more leaves throughout the growing season.
These are the common ways for organic collard greens farming in home garden. Hope you have enjoyed this guide and learned a lot! Happy gardening 🙂

